Make Magazine
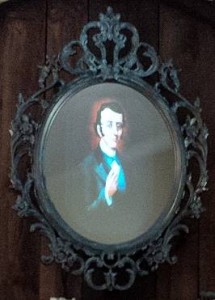
Oct 23Make Magazine picked up the Changing Portrait project I did for Halloween this year. Check out the project write up I did for them here:
http://makezine.com/projects/disney-inspired-changing-portrait-using-a-raspberry-pi/
Disney Inspired Haunted Mansion Prop
Oct 07Okay folks,
Anybody who knows me knows I am a Disney nerd and a huge fan of the Haunted Mansion attraction at Disney World in Orlando Florida. So this Halloween I decided to put my Raspberry Pi ($40 computer) and an old Dell 19” monitor to good use and built a Master Gracey changing portrait to hang over my mantle.
My personal overall cost for this project was around $110 and about 3 evenings of work. Your costs and time involved may vary as I already had an old 19” LCD monitor, some plywood cutoffs, and drywall screws in my shop to make the monitor box. The PDF file at the end of this post is a basic list of what you would need to make this prop. It is not a How To per se because the hard part is building the box to house the monitor and building that is going to depend on the specific size and configuration of your LCD monitor .
Changing Portrait Frame Parts List – PDF
UPDATE – This project can now be seen on Make Magazine’s projects page — ![]()
Snail Nutcracker – Concept to reality
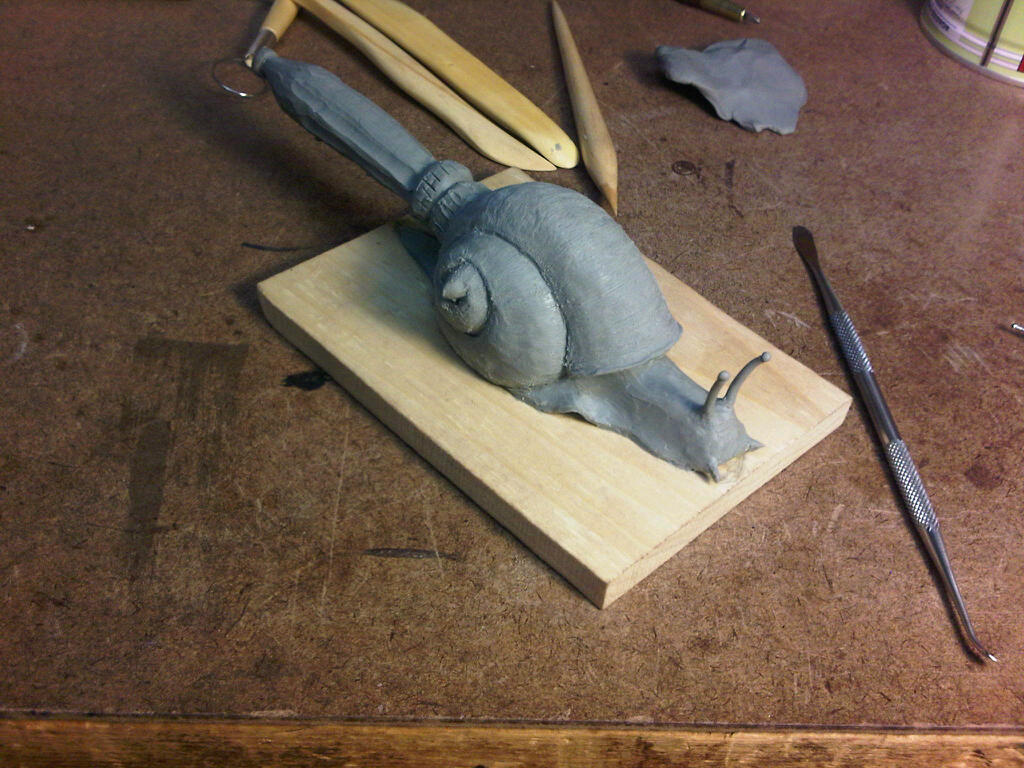
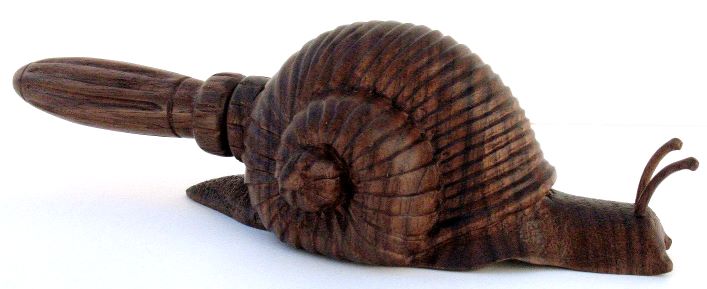
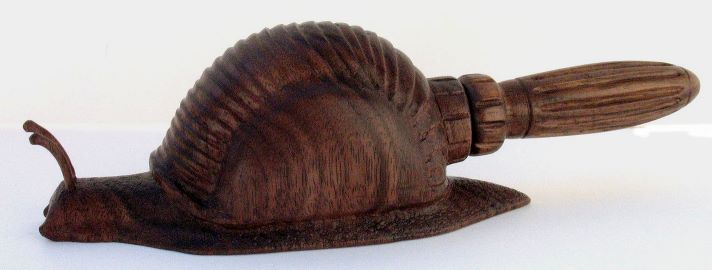
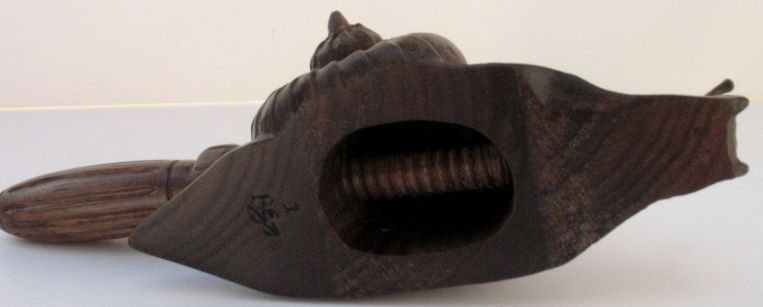
Jun 29A few posts back I posted pictures of an idea I had for a Snail Nutcracker that I sculpted in clay. I carved him out of Black Walnut and it came out great!
This piece was a huge hit at the 2013 Nutcracker Collector’s Convention. I’m proud to report that the Leavenworth Nutcracker Museum curator, Arlene Wagner, bought it at the convention’s auction to be put on display at the museum and enjoyed by all who visit the museum.
I will be posting more on the 2013 Nutcracker Collector’s Convention soon. Stay tuned!
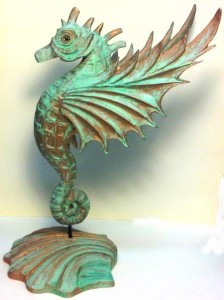
The New Seahorse is Done
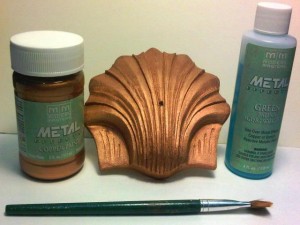
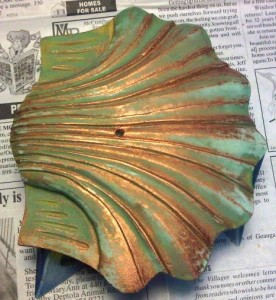
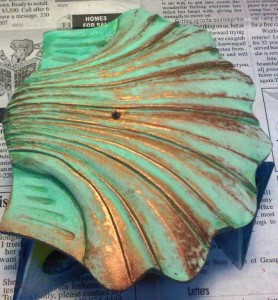
Jun 03The Modern Masters Metal Effects paint line is nothing short of incredible. It’s simple. You lay down one coat, let it dry, lay on another coat, spritz it with the patina solution while it’s still wet, grab a beer, and let the patina do its thing. I let my pieces sit overnight to make sure the patina is done doing its thing and the piece is fully dry. That’s it. No top coat needed unless you are using the rust effect. The rust one needs sealed to stop the rust and keep it from discoloring surrounding parts-n-pieces.
The copper with green patina effect was perfect for this test piece. I have a ton of ideas now for the Modern Masters paints. Keep coming back to see what I come up with next.
The New Skull Nutcracker Design
Oct 28Brandon has redesigned his Skull Nutcracker. When he first discovered figural nutcrackers on the internet and in books he set out and made his first designs without seeing an example in person. After we acquired a few vintage nutcrackers and after seeing other peoples collections, Brandon decided to recreate the Skull Nutcracker to be more delicate and more in scale with the vintage figural nutcrackers. The new version is approximately 7 inches tall . The old version was quite a bit larger at 8 inches tall.
Here is a picture of the old version and the new version for comparison.
Here are some pictures showing the detail of the new Skull Nutcracker……
Brandon also created the coffin shaped stand for this nutcracker. The Skull Nutcracker is the first of the new design and is signed and numbered #1. It is currently listed on Ebay. This would make a nice Halloween addition to any collection!


